
I have fixed Grovia cloth diapers the most. They are hearty, thick, and stand the test of multiple kiddos. I will show you through lots of pictures what I usually do to replace the elastic. I also have offered this as a service in my Etsy shop. www.etsy.com/shop/homesteadingchicks **I am currently only taking requests for this through messages while we adapt to neurodivergent homeschool and therapies.**
I try to do things in batches or one whole step on each diaper at a time. Then when I am inevitably interupted by a dinosaur emergency I can set things down and know where I’m at. I open up all of the diapers, expose the old elastic, pin in new elastic, stitch it down, cut out the old, turn the diapers right side out, clip the seams, top stitch around to match.

Opening up the diaper to expose the elastic: I LOVE this shape of seam ripper. It gets under the top stitches of the diaper easily. https://amzn.to/3zAJsqC

Take out a few outer stitches then work from the inside edge to open up the front/belly panel of the diaper enough to fit your hand inside.

Turn the diaper inside out. You can use a blunt object to turn out the edges.
There is a thicker seam down a few inches from the very front edge and back edge of the diaper. Usually the elastic joins at this thicker area. Open up the stitches only as much as needed to access this elastic. You will need about two inches of space to stitch.


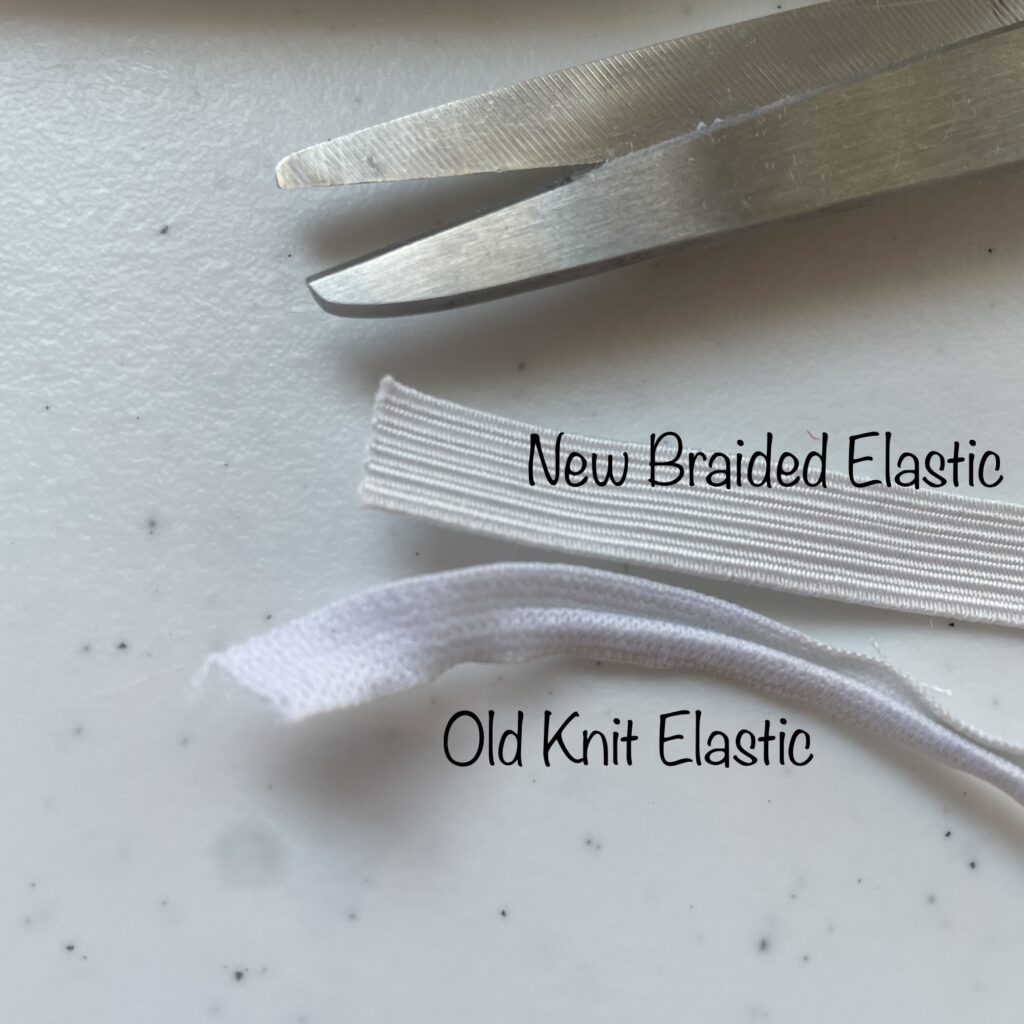
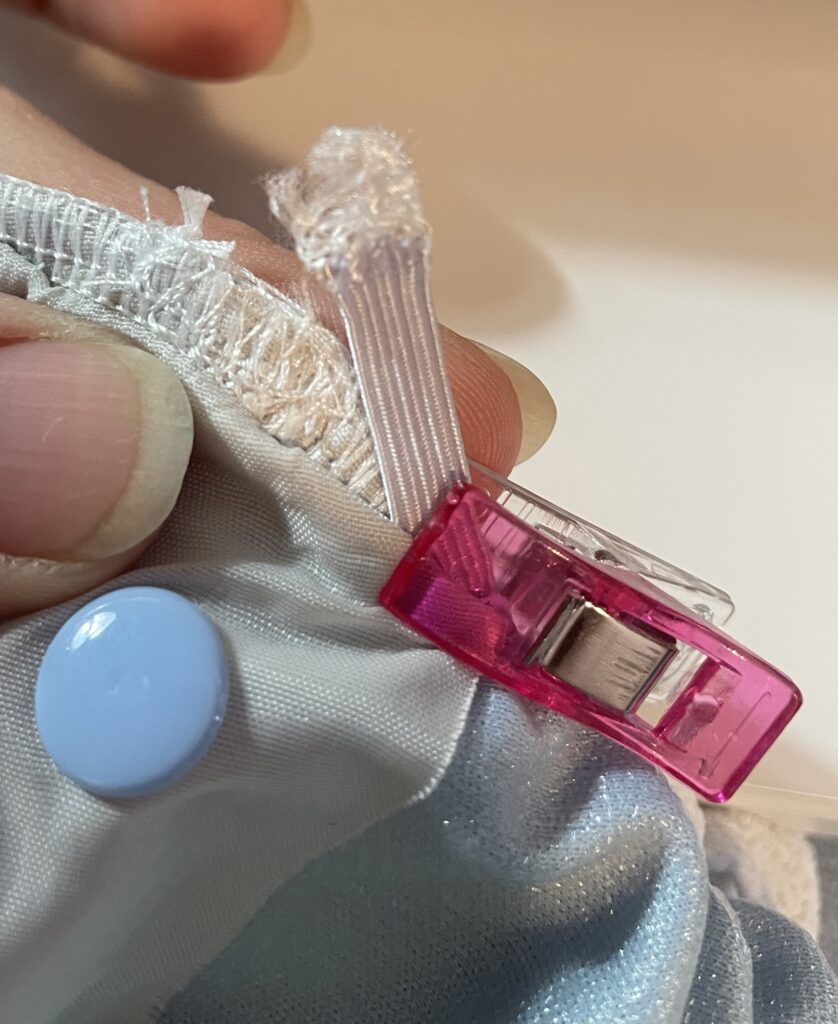
I use sewing clips to attach the new elastic. https://amzn.to/3PeTDYR I also use them later to keep the elastic in line while top stitching. You can also use strong safety pins, but they are harder to get out of the way while stitching. 4.5″-5″ is the best so it’s not too tight or loose. I buy this elastic specifically for Grovia diapers. https://amzn.to/3W2hXRv Other brands commonly use thinner 1/4″ braided elastic.
I like to clip or pin one end of the new elastic right to the old elastic. I stitch it down with a heavy needle, like one for jeans. https://amzn.to/3O42TMD This one is what my Singer takes. I use a light industrial, Singer 401a from the 1950s. Most Singers use the same needles. Jeans needles are sturdy enough to get through all the thick layers. Polyester thread is also important. It doesn’t allow moisture to wick through to the other side of the diaper.
Once one end is stitched down you can snake the other end through the channel to the other side. I love this tool! https://amzn.to/4gx7ZQ8 You can reuse it later to thread a loose hoodie string. It’s easiest to put the tool through, add the elastic tail, and pull the elastic through to it’s destination. Pushing it through is much harder.
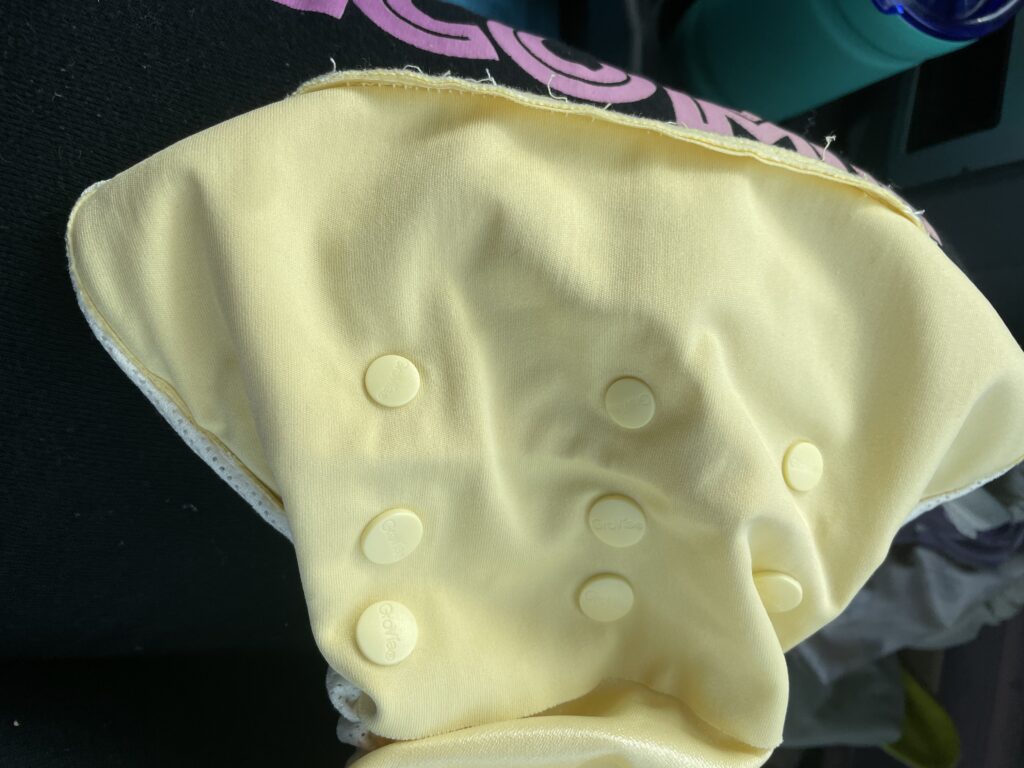
Clip down or pin the elastic and stitch it into place. I do the back and both legs while I have the diaper inside out. The back typically is just a bit longer than the leg elastics. The old Grovia elastics will not look the same. They may me wider or knit instead of braided. My customers are happy with this replacement. I have tried cheaper brands and had issues with it unraveling from the stitches.
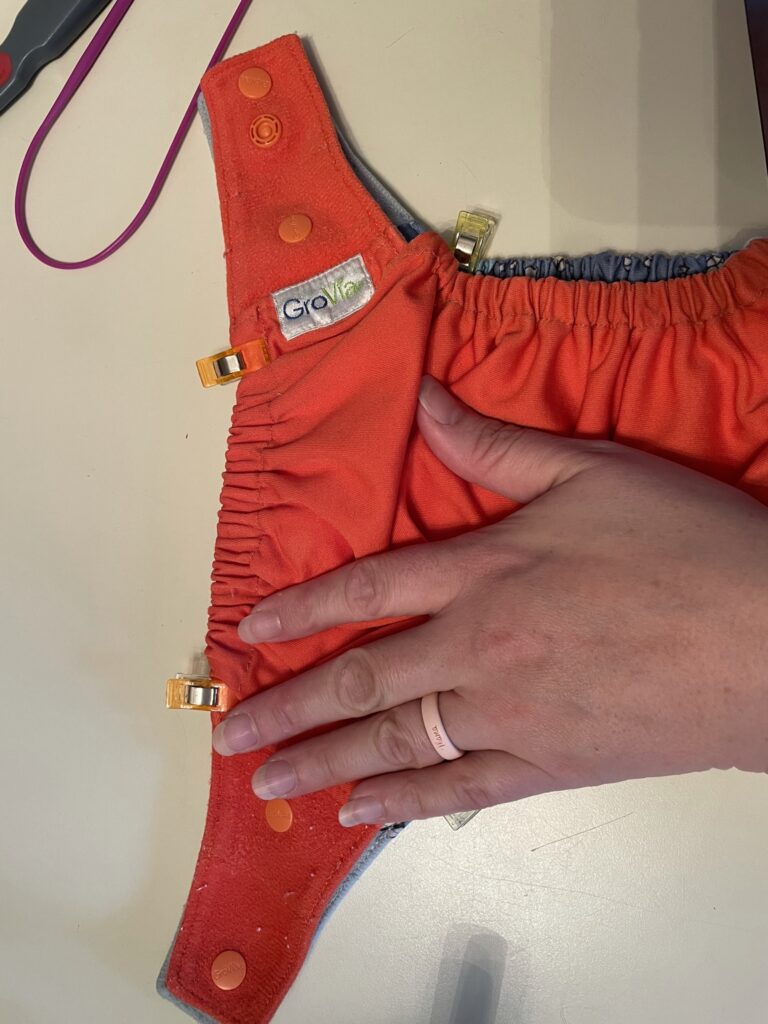
Turn the diaper right side out and clip the edges together. This is a good time to inspect and remove any loose threads. Be sure all of the inside edges are gently pushed out, especially the tabs. I use an off white/cream color for the bobbin on the machine and sew with the inside of the diaper facing down. Then I try to match the upper thread color that goes through the needle to the outer color of the diaper. You may want to stitch this part with these needles: https://amzn.to/3tpM7Qa They glide through the PUL waterproof layer of the diaper best. These are essentials for thinner brands!
Please feel free to let me know if there is something you would like more details about!
Thanks for your blog, nice to read. Do not stop.