
You can make butter with some heavy whipping cream and a Kitchen Aid mixer. I will walk you through the steps and show you what it should look like.

Simple Breakdown:
Start with regular heavy whipping cream from any grocery store. Any HEAVY WHIPPING CREAM will do. My favorite Kitchen Aid mixer is a 6 quart but any size will work. It will go faster with a whip blade. Pour about 1/3 of the mixer bowl full at most and whip until it breaks down the butter fats from the buttermilk. You will think it’s gone on too long just before it is ready, be patient! This large batch clocked in at about 18 minutes of whipping. When it spits buttermilk out at you it’s ready! It’s easier for me to grab a small fist full and compress in my hand like I’m making a snowball. Run cold water over your hands gently as you squeeze. The result is butter! You can kneed in a pinch of salt if you want to leave it on the counter.
The Long Story & Details:
I can’t buy $5 per pound of butter at the store! I just can’t do it. I’ve wanted to make butter and raise farm animals and grow all my food for a long time. When we moved to our little 1 acre homestead in 2011 I did one self-sustainable project per month. I started by replacing laundry soap. Here I am making butter and tackling the grocery store all these years later! I have become frugal as a way to keep our financial heads above water as our jobs came and went. Each little step is worth it in this journey. If you are interested in trying to make your own butter I have some helpful tips and links to items I love!
Just get started where you are at.
Maybe you can borrow a mixer to do a batch, start there. If you have a hand mixer, start there. Have literally any brand of stand mixer, start there. You may be on the market to invest in a stand mixer. I can recommend this one: https://amzn.to/3kfLjsj I have also in the past bought a bowl and attachments from the scrap yard then waited a couple of years for an affordable deal on just the mixer itself to complete the set. (That’s the long & cheap path) I also have added vinyl graphics of my own to the mixer shown.
Heavy Whipping Cream is the necessary ingredient.
My cheapest way to get it is at Aldi by the quart or on my Flashfood (clearance) App. You can keep your eye out for near sell by date heavy cream at your local store. The only thing to remember is that you have to get in there and finish the project when you get home. If the cream goes bad while you wait for the right time, you are not saving money. I filmed this and added to my Tik Tok and Instagram in fast motion. (@homesteadingchicks) You can see me doing dishes and loading the dishwasher in the background. That’s literally how long it takes!
The whole process is sped up with a whip blade attachment like this one for a tilt head Kitchen Aid: https://amzn.to/38v1gbd . This one fits 5 quart Kitchen Aid Mixers: https://amzn.to/3Kgg76B I haven’t tried any fancy paddles or strainers. I cook with butter and I have a teen who has discovered buttered bread like dad. We needed a fast and cheap way to keep getting butter without paying the high prices. I finally got over the hump of self-doubt and I am not going back now!
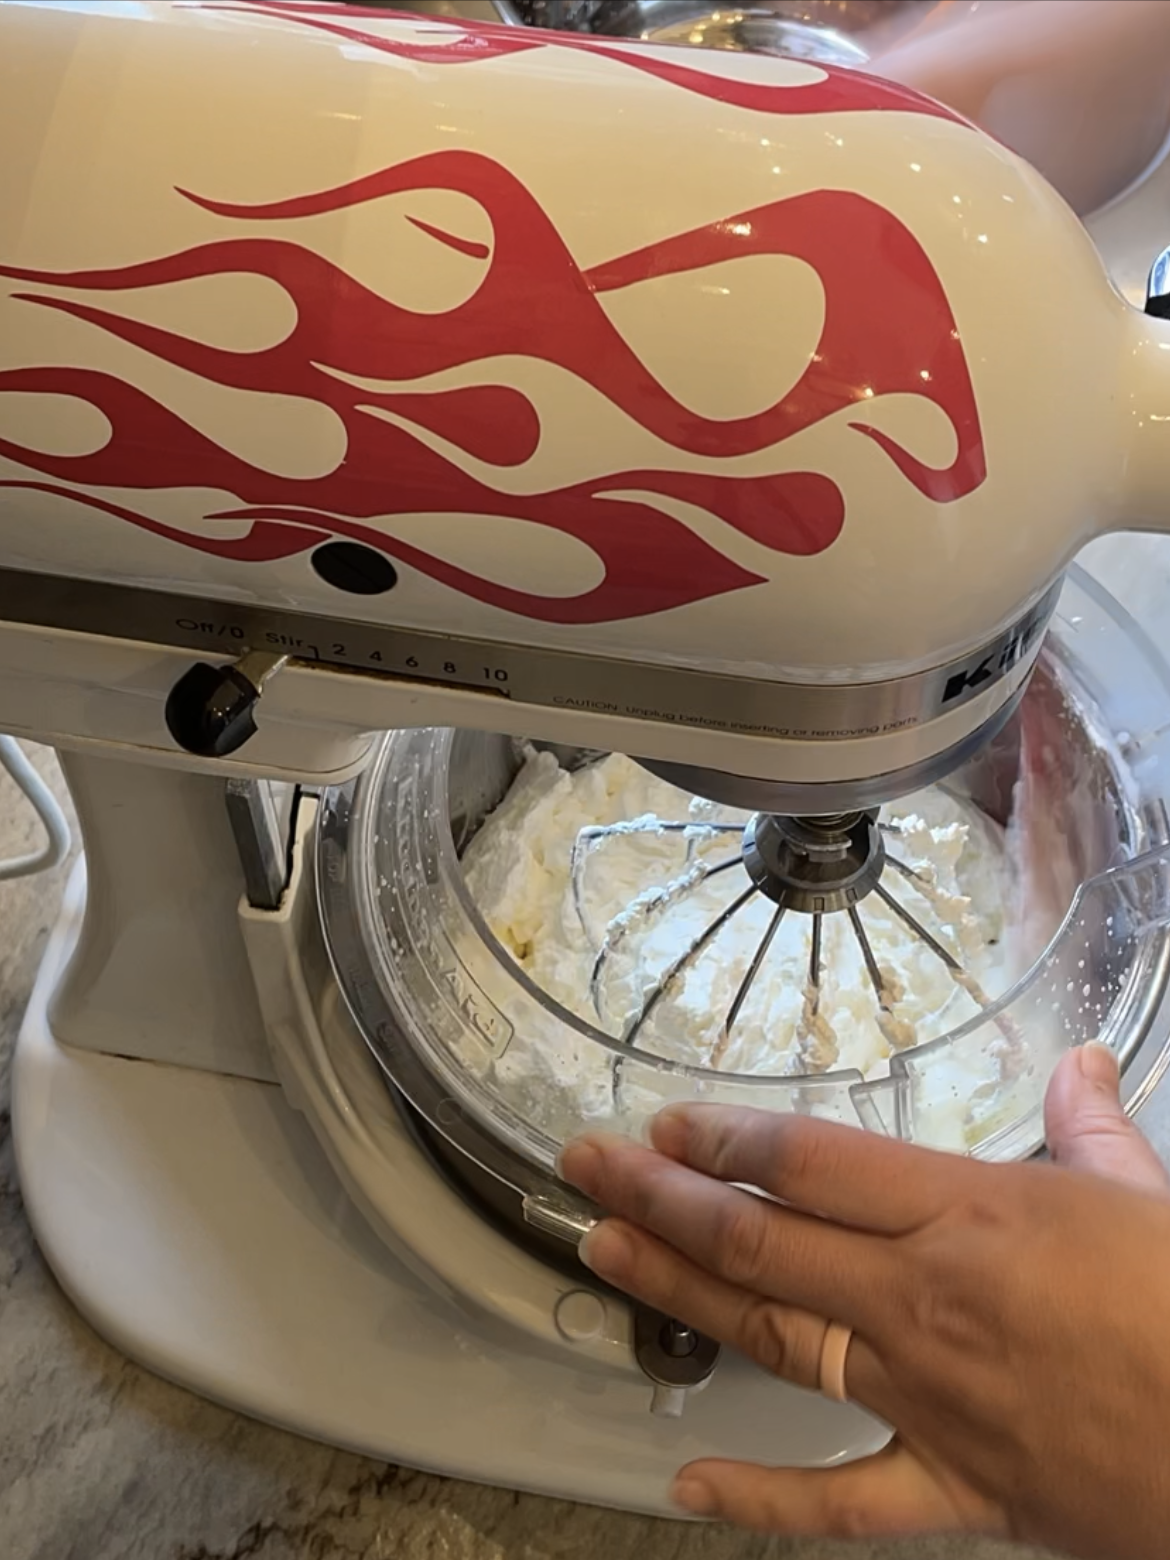
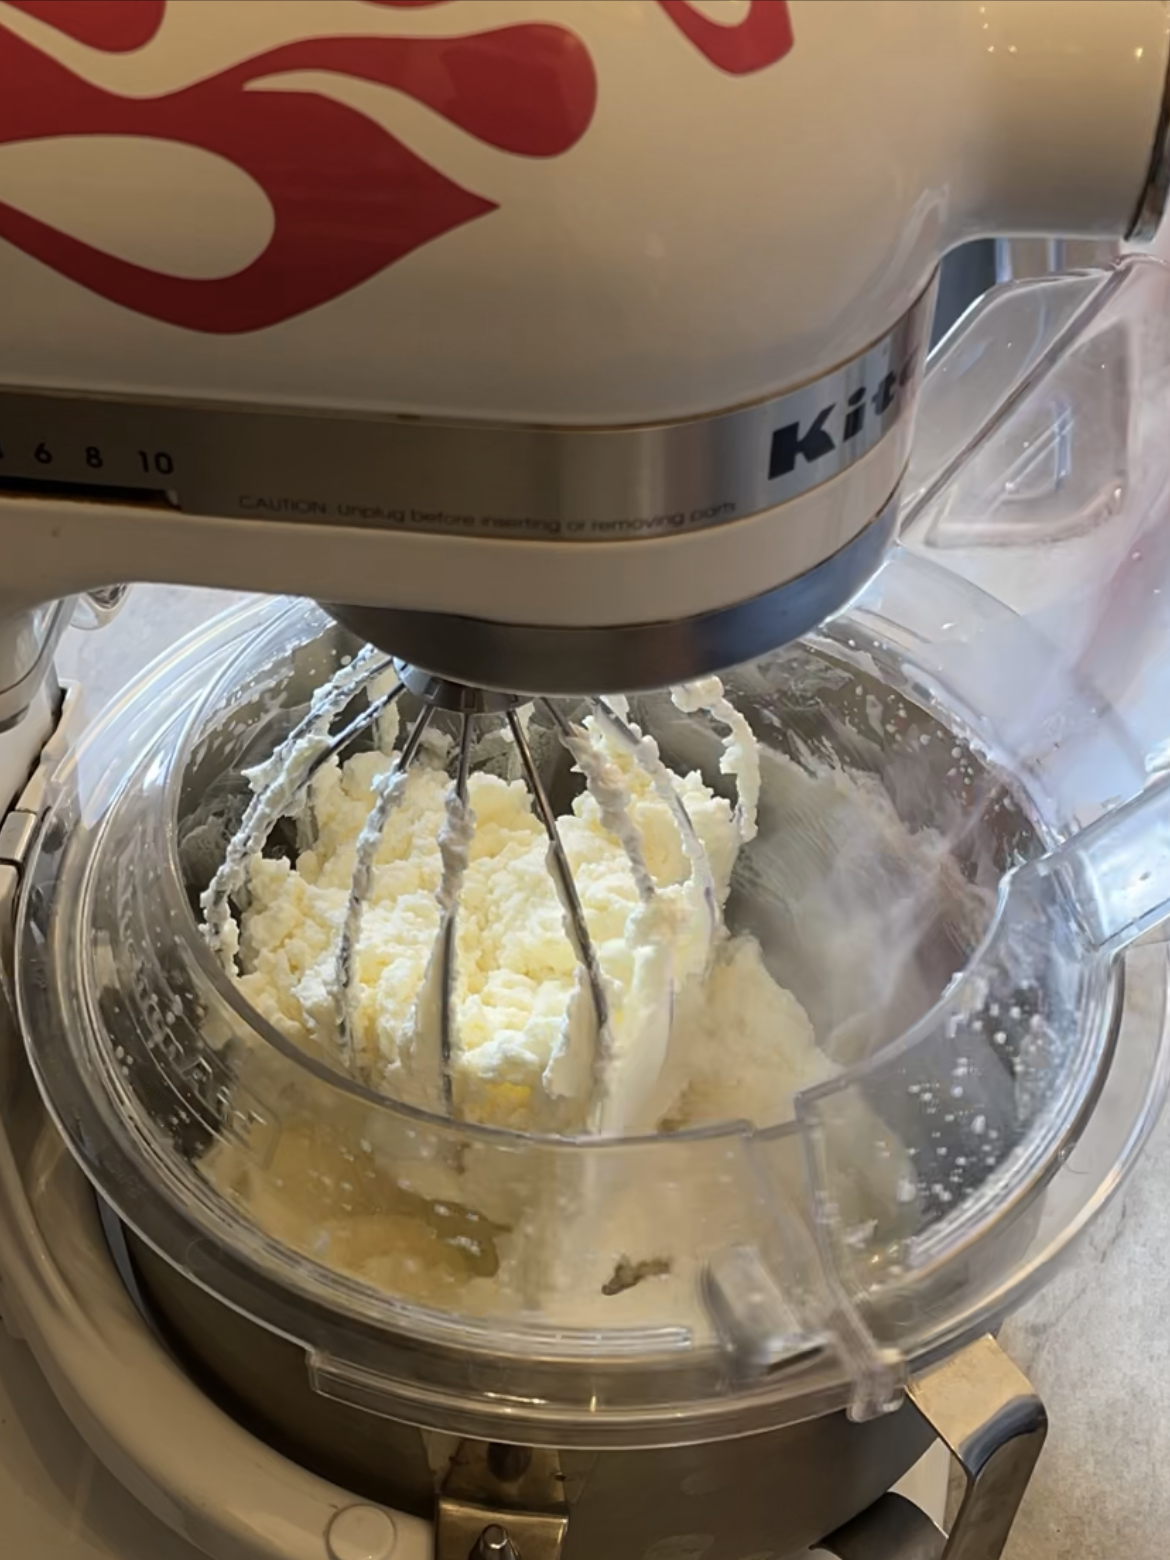
Whip it til it breaks.
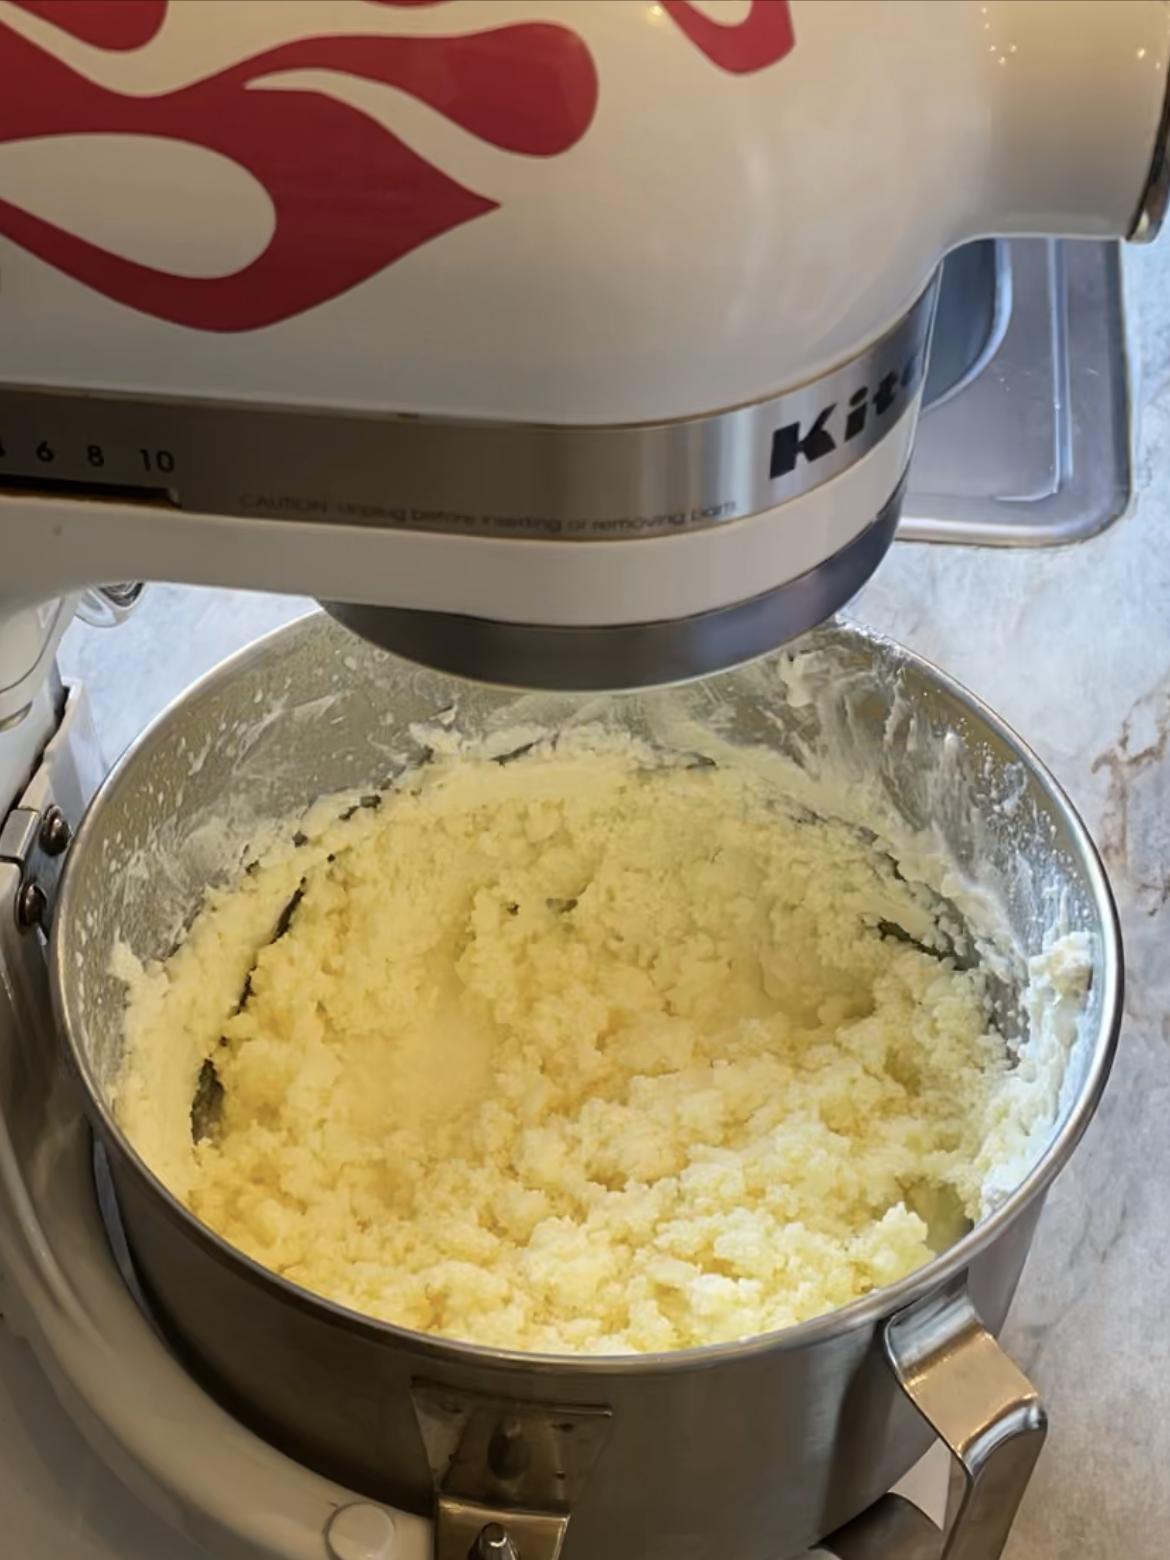
The cream will whip into fluff, then sink down and get a bit thicker, then turn a light yellow color and the butter fat will finally separate. This last moment is like watching water come to a boil but wait til you get there, it’s worth it! I tidied up the kitchen while I waited and occasionally used a spatula to push the edges back down into the bowl. When the butter milk separated out it literally spit at me out of the bowl. I wish I had taken a picture of my glasses!
Strain it out and maybe salt.
The last thing is to strain out the buttermilk from the butter fat. I don’t have fancy equipment so I grabbed a small fistful and squeezed over the sink into a mixing bowl. Whatever first came out went into a batch of bread in the bread maker. Buttermilk is great for baking! The butter is in little tiny chunks and will magically come together as you squeeze and gently rinse with cold water.
I worked the small ball in both hands until it got firmer. I decided to add a pinch of kosher salt while I was working out the drips. You don’t have to add salt but you may need to keep it refrigerated without the salt. I left mine in a butter dish like this one: https://amzn.to/3LXxLxK for up to a week in up to 76 degree Fahrenheit room temps with no problems so far. I wrapped the extra balls of butter in waxed paper then plastic wrap to store in the freezer. You could store in a container as it is or form into sticks. We measure butter with our hearts so we didn’t put much effort into shape or size.
Leave a Reply
You must be logged in to post a comment.